Step 1: Download Office Tool Plus
Step 1
Get Office Tool Plus Runtime
Click the button below to download the latest OTP runtime:
Download Office Tool PlusRequirements:
- Windows 11 / Windows 10 (latest updates recommended)
- Run as Administrator for smooth deployment
- Keep Internet connection during installation
Step 2
Extract & Open OTP
Right‑click the downloaded archive and choose Mount or Extract to current folder.
Enter the folder, right‑click Office Tool Plus.exe → Run as administrator.
Step 2: Deploy Project or Visio
Step 1
Choose Product & Settings
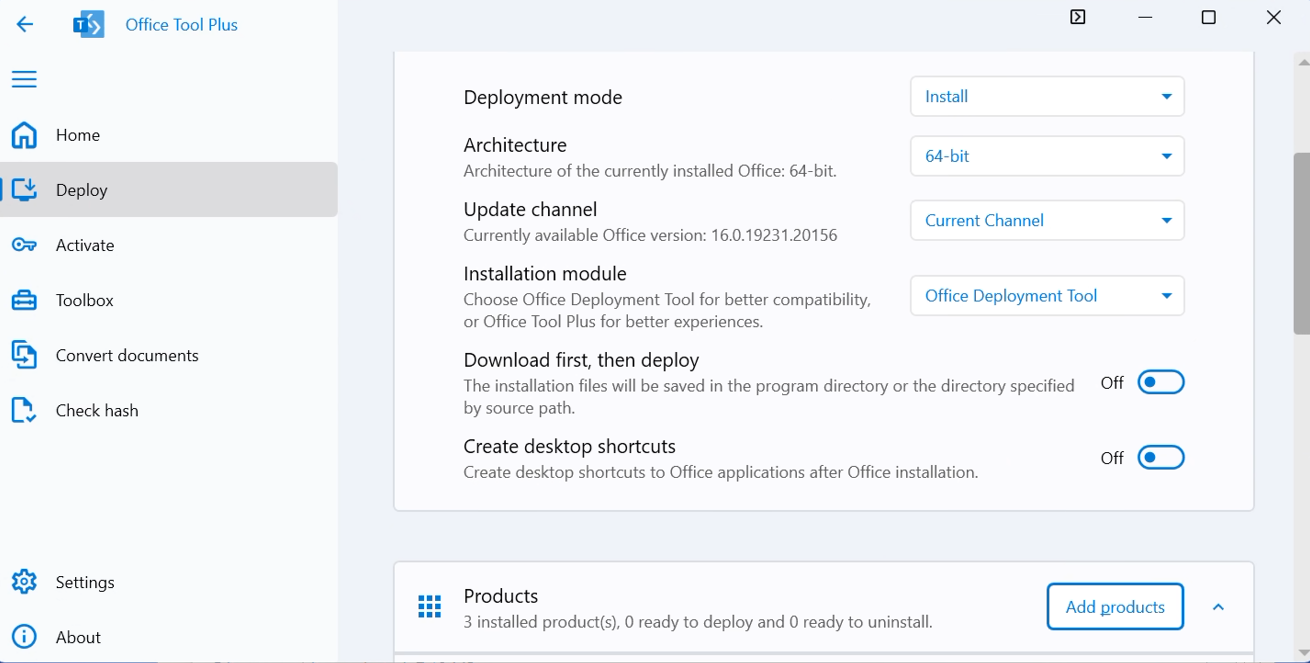
- Open Deploy → click Add Products.
- In Product, select one of:
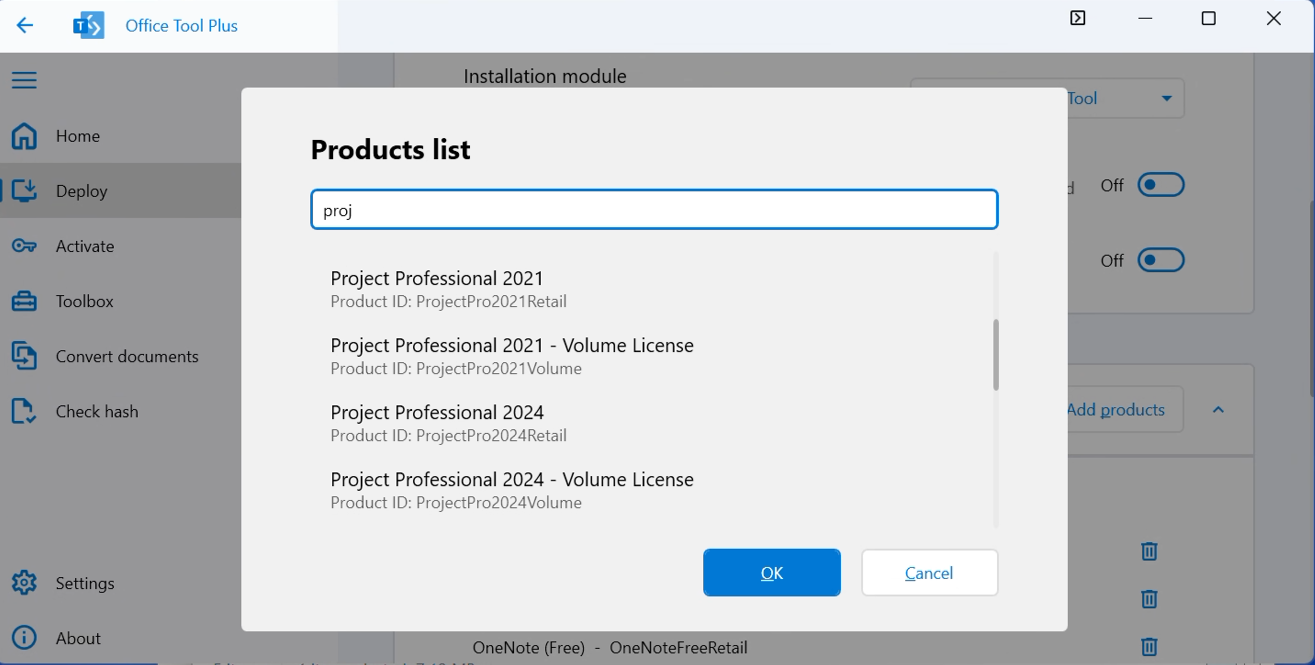
- Project Professional 2016 / 2019 / 2021 / 2024 Volume License
- Visio Professional 2016 / 2019 / 2021 / 2024 Volume License
Important: Keep architecture (x64) and channel consistent across your Office apps to avoid conflicts.
Step 2
Start Deployment
Click Start Deployment and wait (10–30 minutes).
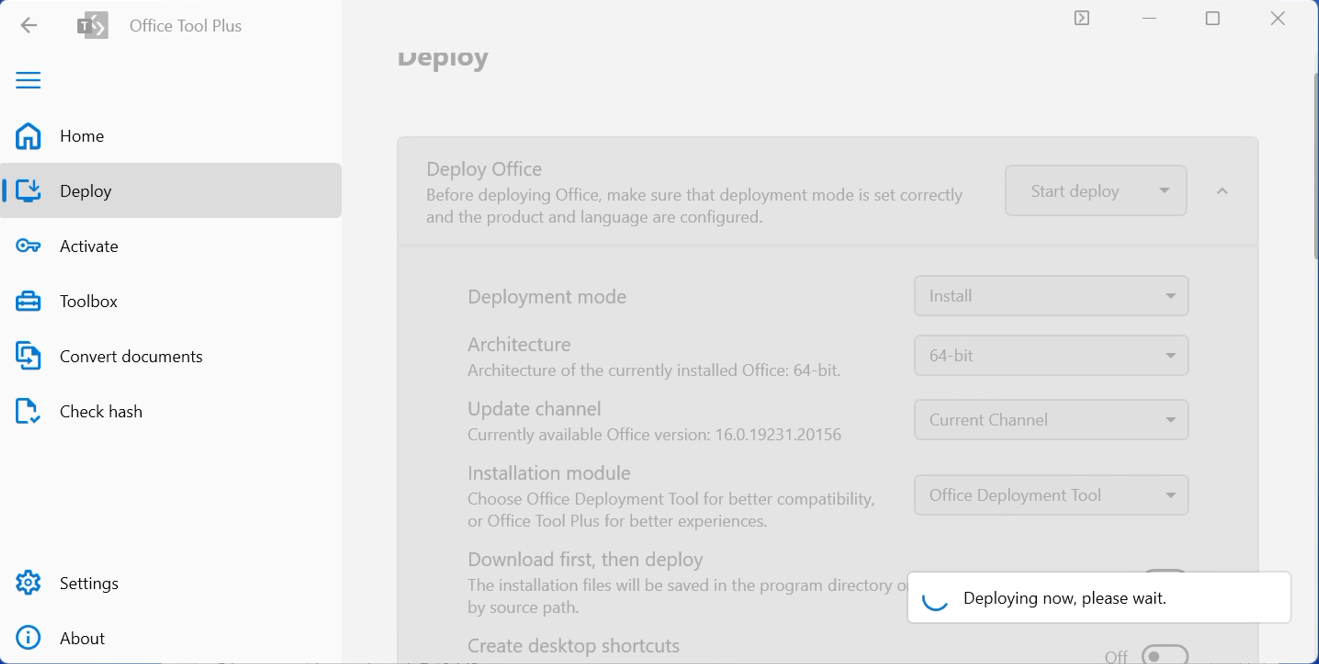
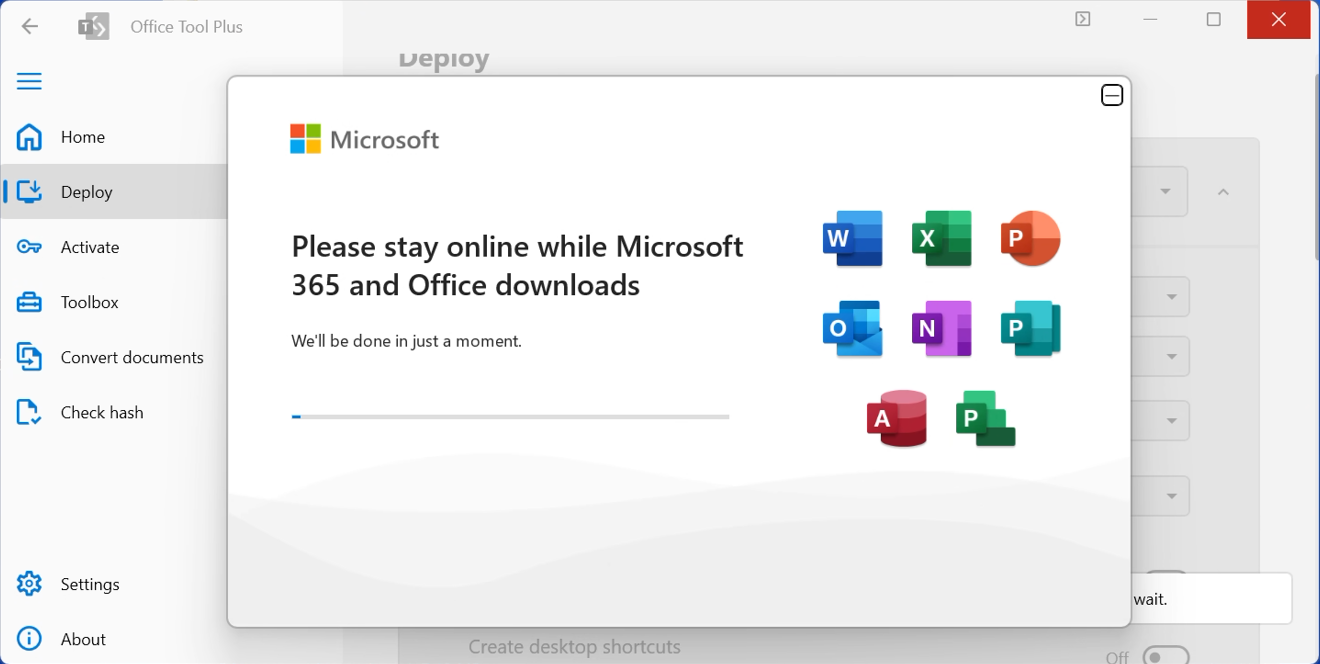
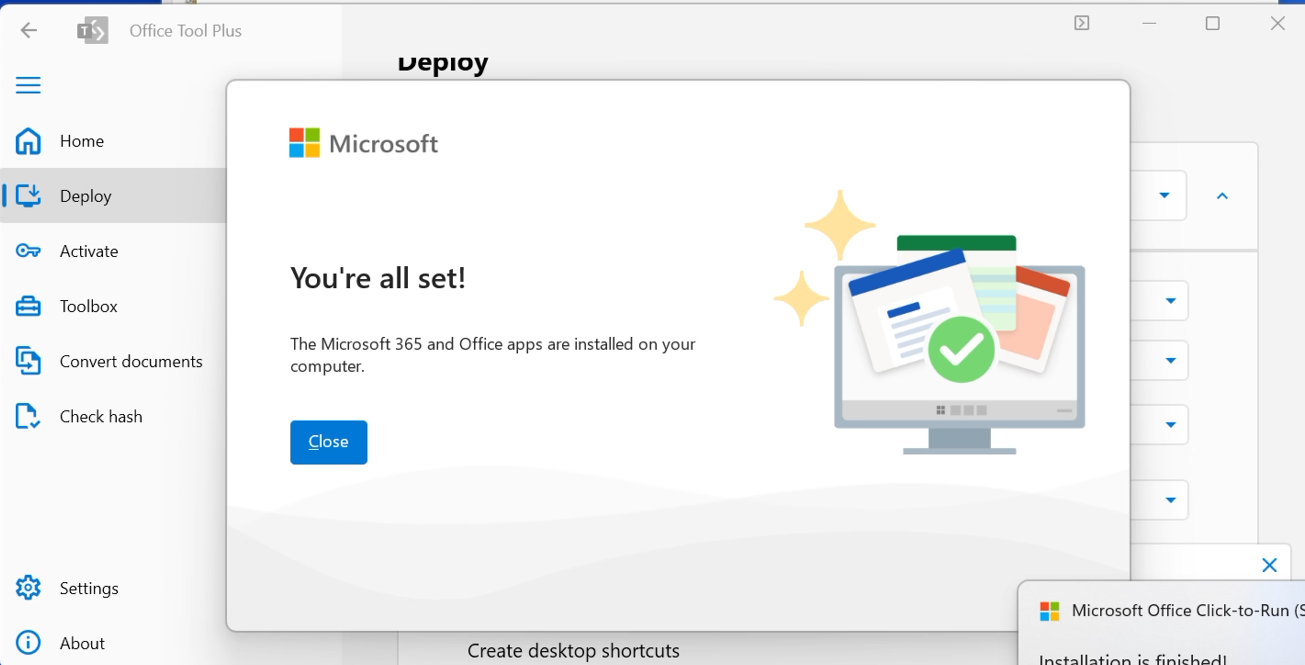
Do not close OTP or disconnect from the Internet during deployment.
Step 3: Activation and Verification
Step 1
Open App Watch video tutorial
Open Project/Visio, accept license, and select "I don't want to sign in" if prompted.
Step 2
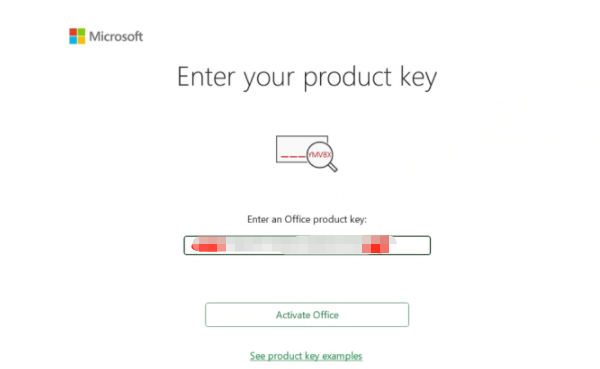
Enter Key
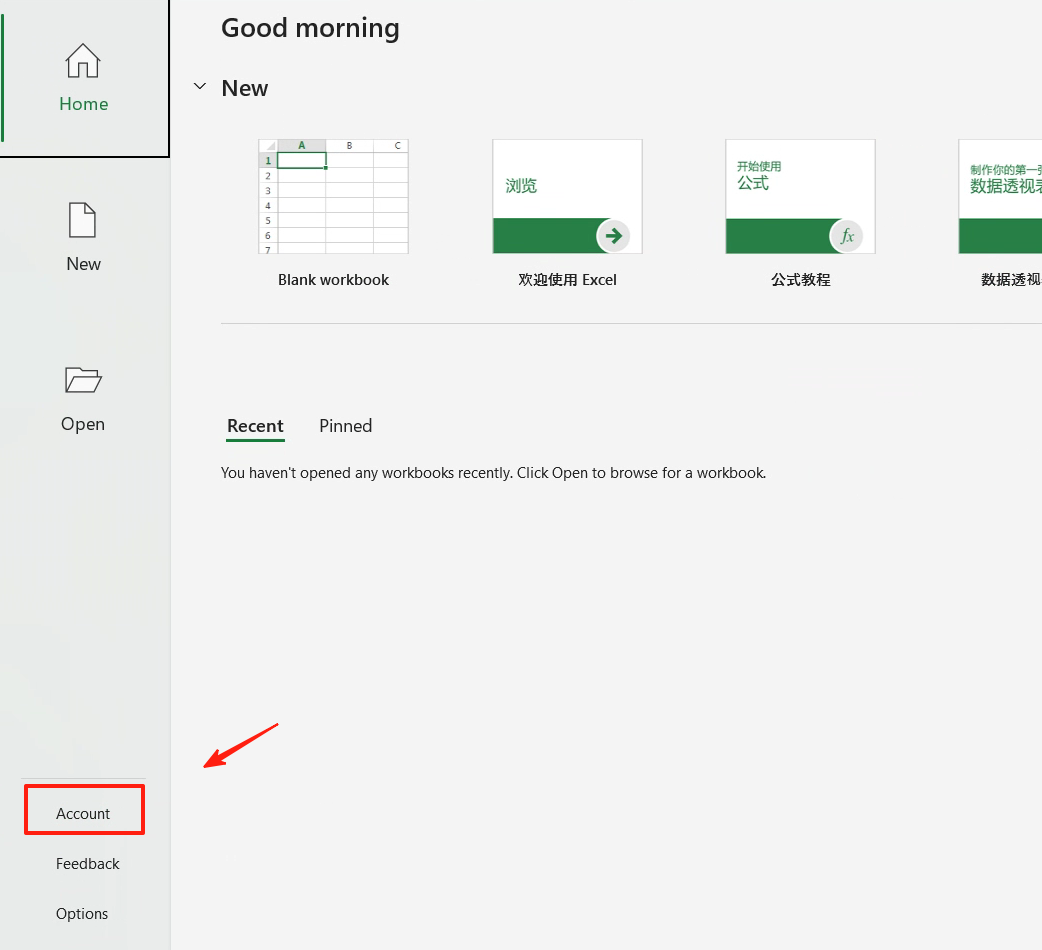
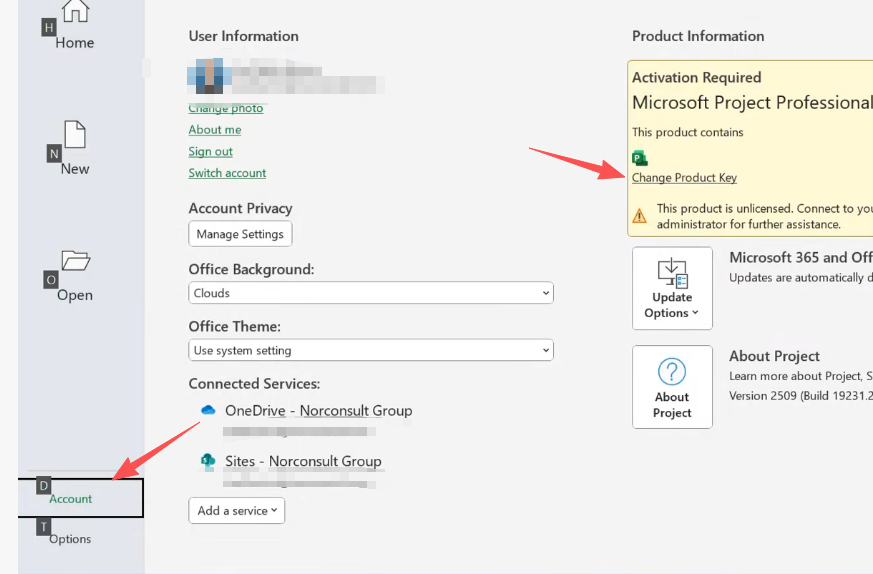
Go to "File" → "Account" → "Change product key". Enter your key.
Close Project/Visio and reopen it.
Step 3
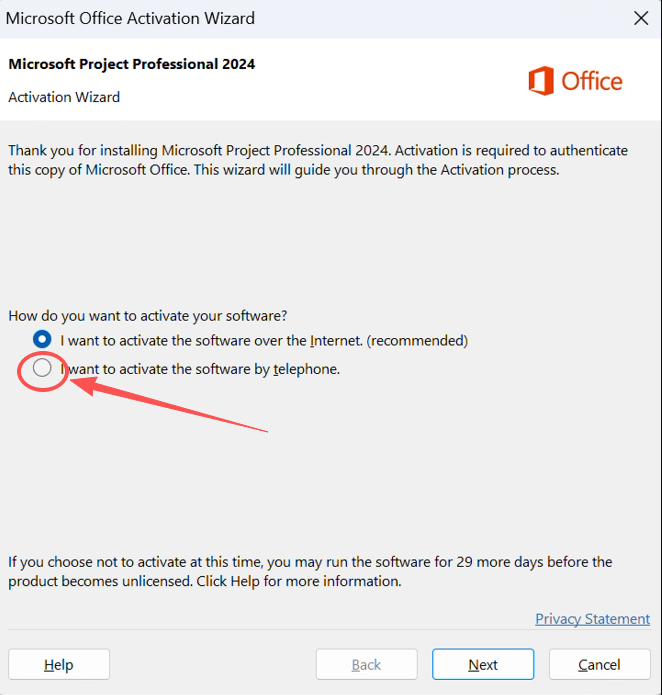
Telephone Activation
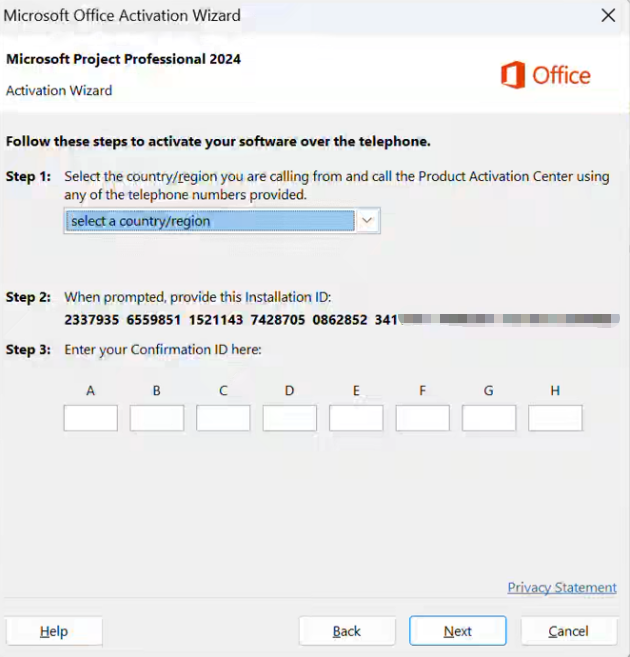
Select "Telephone activation" and follow the wizard:
- Select country/region (Malaysia)
- Take a photo of the Installation ID and send it to customer service via WhatsApp.
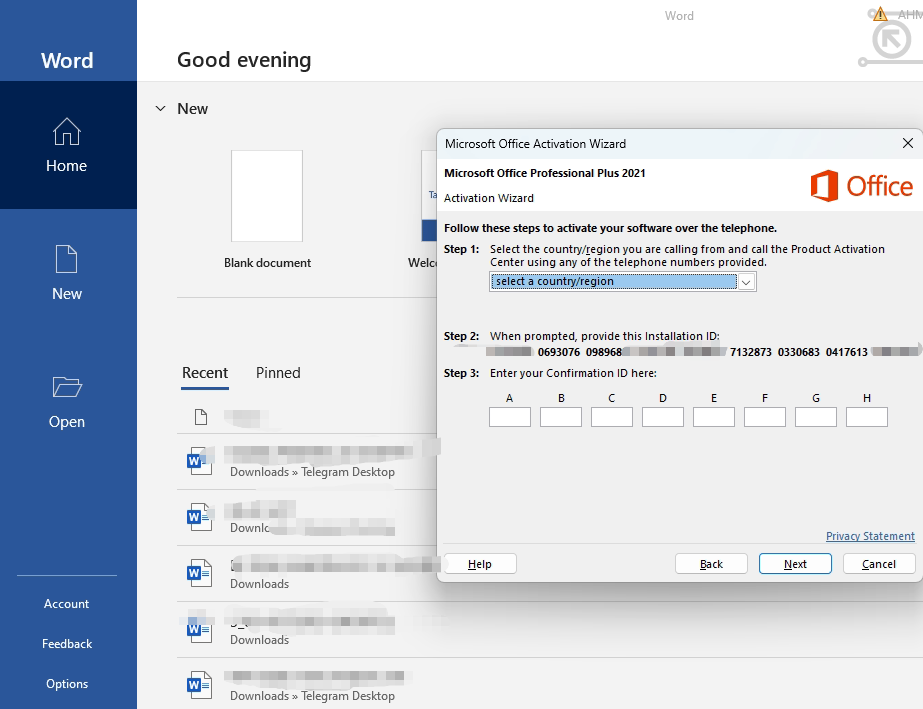
Enter the Confirmation ID provided by support:
Statement: If you encounter error messages, please contact customer service immediately!
Step 4
Finish
Check the "Account" page. Status should be: Activated.